

Affinity Designer Vs Paint Tool Sai
PaintTool SAI: How to boost your skills
PaintTool SAI may be a fairly straightforward graphic design software but it's a powerful one and it takes a skilled digital artist to master it. Angela Wang is just such an artist. Also known online as awanqi, Wang is a freelance illustrator who has a penchant for historical and fantasy character pieces and has worked for clients across publishing and comics (to further improve your character work, see our top character design tips).
Wang used PaintTool SAI to create an illustration that evokes characteristics of the Greek gods Hypnos and Thanatos, using colour to set the tone and lighting to direct focus. In this article, Wang will share the creative process behind this illustration as well as giving tips and techniques that she finds useful to her artistic practice. Read on to find out how you can also become a master of PaintTool SAI – and check our best digital art tool guide for more on other art software.
01. Test out your ideas
(Image: © Angela Wang)
When coming up with a sketch, I'm less concerned with the aesthetics of neat lines. I usually start with straighter and more rigid lines that are borne out of quick movements, because I've found that this helps me to decide if I'm on the right track. I don't want to waste time guessing what I've just drawn.
02. Refine parts of the sketch
(Image: © Angela Wang)
At this stage I'm starting to settle on the decisions I've made, which enables me to refine the more ambiguous parts of the sketch. What really gets the ball rolling is when I start detailing faces – this usually tells me that things are working out so far.
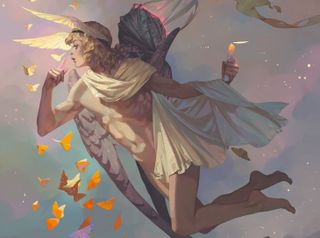
03. Get the final sketch ready for painting
(Image: © Angela Wang)
I like to be neat with the sketch in the end; it makes the painting process less confusing. Once I'm happy with the results, it's time for me to fill in the base layers. Before that happens, though, my next step is to change the sketch layer to Multiply and reduce the Opacity until I can still see my sketch, but it's not overpowering the composition.
04. Fill in the base of your illustration

(Image: © Angela Wang)
Before starting the painting stage, I fill in each section with a neutral colour (often shades of grey, nothing too saturated) and lock the Opacity. This enables me to paint freely, albeit roughly, without worrying about losing the shapes.
05. Establish light and colour
(Image: © Angela Wang)
At this point I'm not detailing anytime soon, which means I can go wild with colours. I usually try out different variations of value and colour until I find something I like. I want the piece to have a dreamy feel, so I have blues and purples in mind as I lay down my colours.
06. Start the painting process
(Image: © Angela Wang)
As I begin painting more of the details, I further reduce the sketch layer's Opacity so it's barely visible. This means I can focus on the values rather than the lines in order to establish forms. The sketch becomes more of a distraction rather than an aid as the rendering goes on, so it's always freeing to finally turn it off.
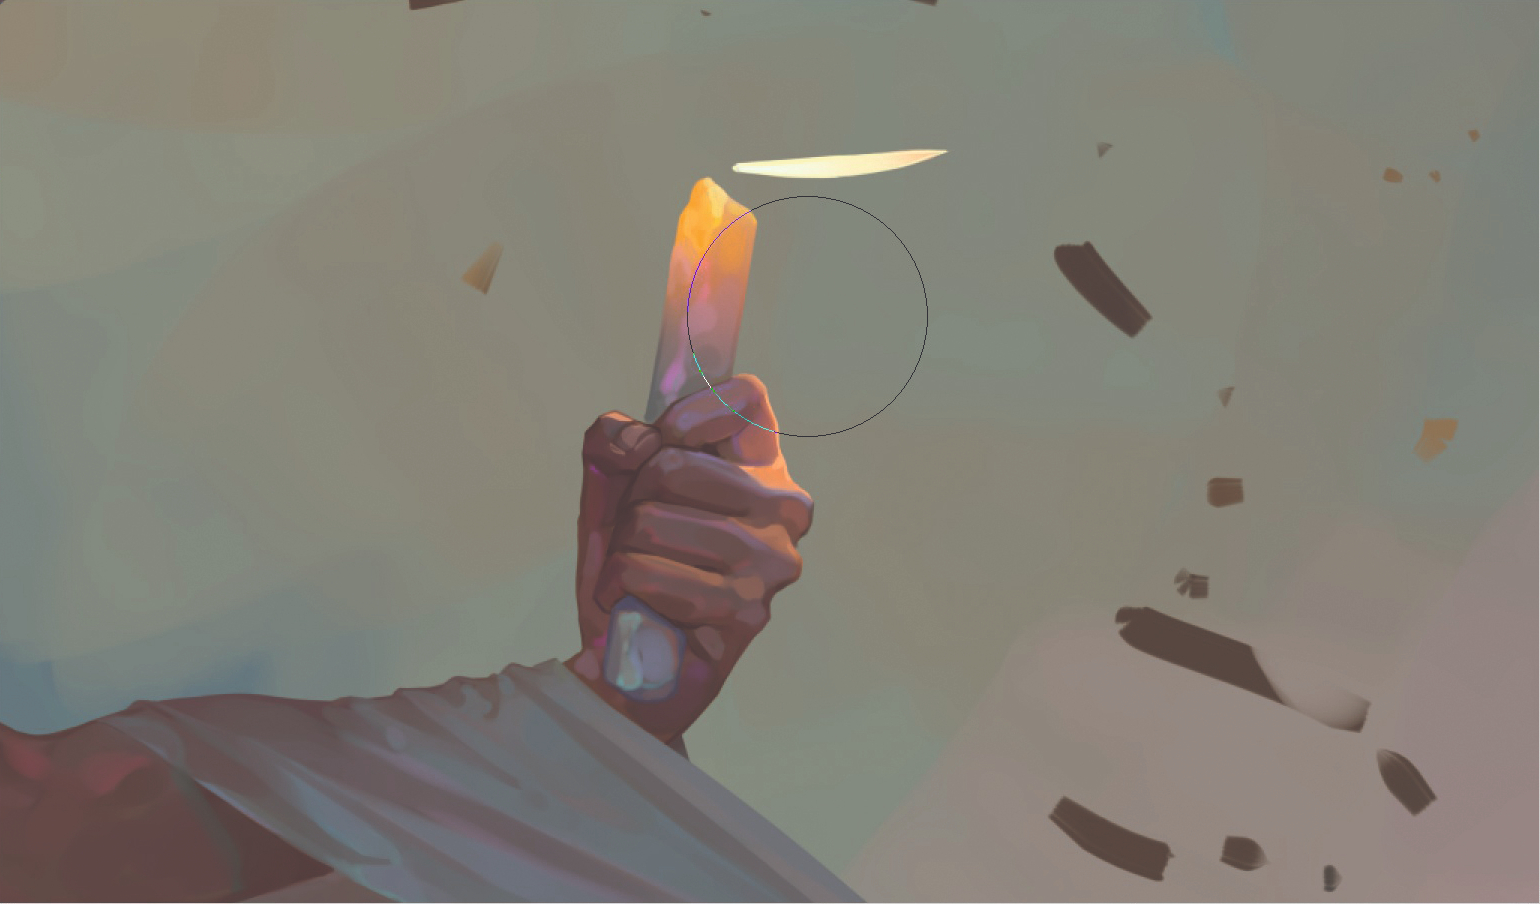
07. Go in headfirst
(Image: © Angela Wang)
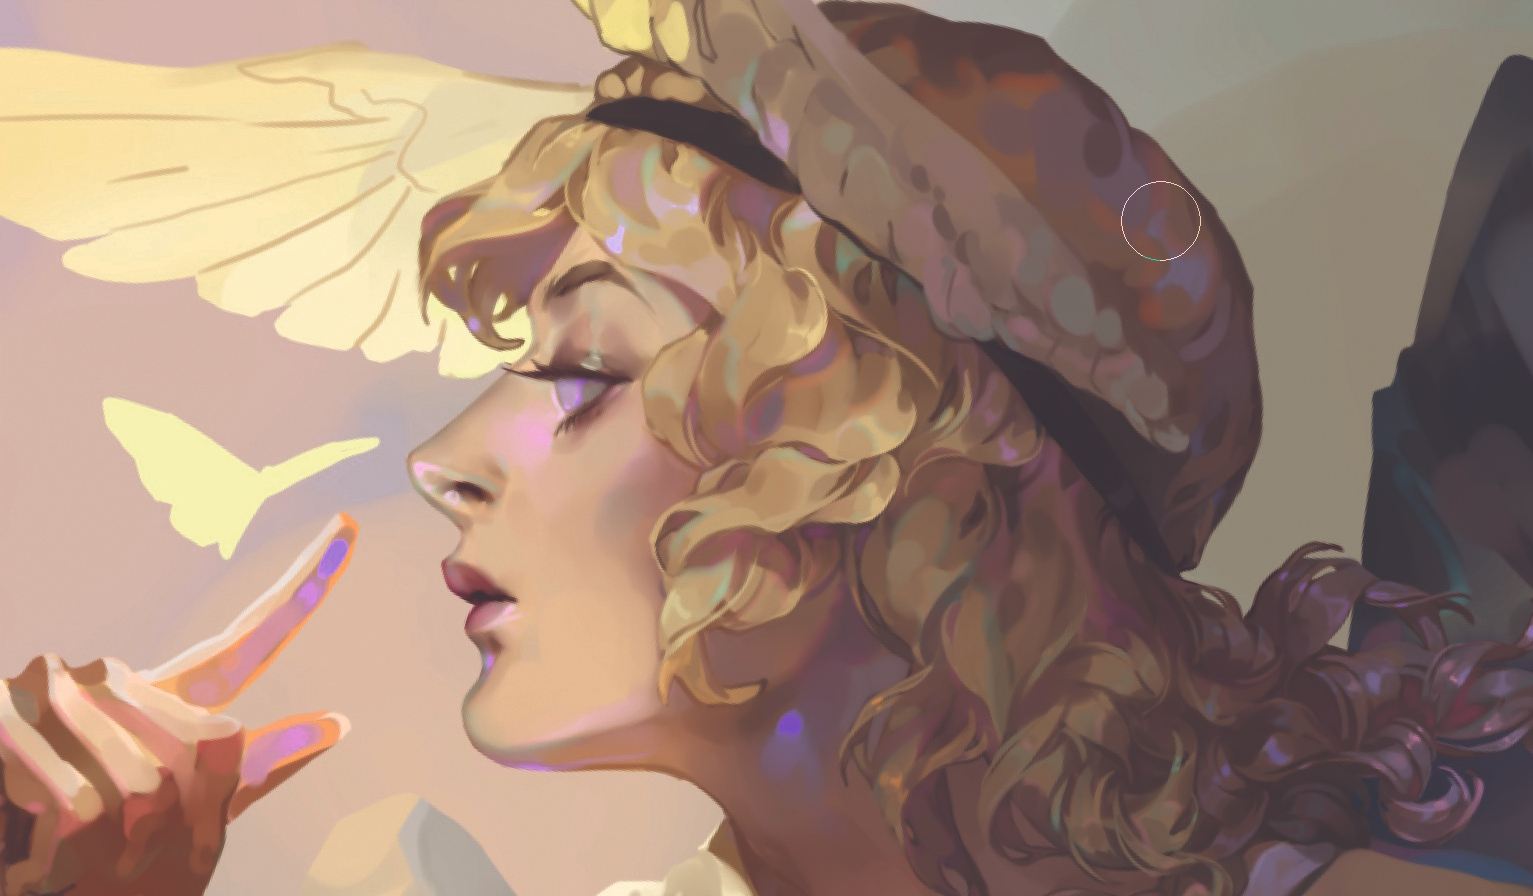
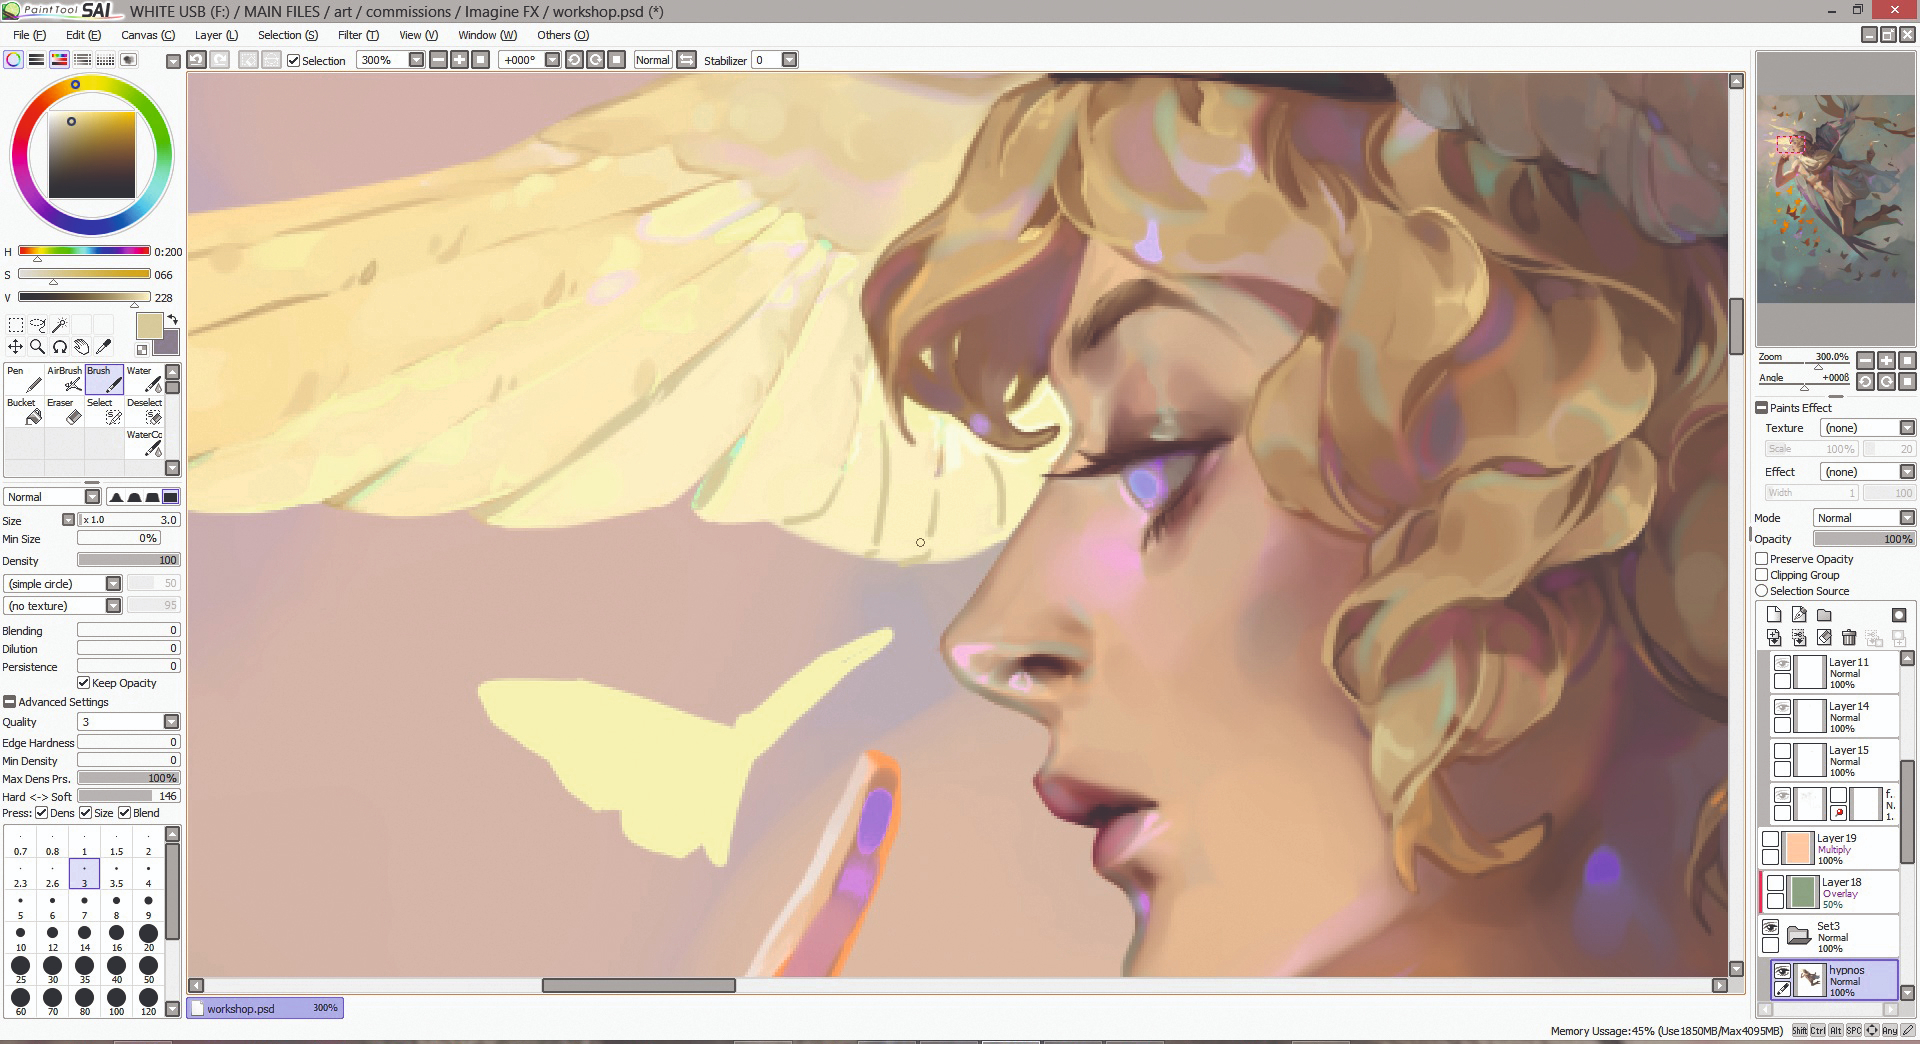
I enjoy painting faces, so I always start here. This also helps me to build up momentum during the creative process. Whenever I start to lose steam, I can look at the face that I've just visualised to remind myself that yes, I can actually paint. I paint with the Brush tool for harder edges and details, as well as the Watercolor tool for softening the edges where necessary.
08. Work section by section
(Image: © Angela Wang)
Once one section (for example, the head) is finished, I can move on to the next. Doing so basically generates a checklist in my head on what comes next. My usual order is head, followed by the shoulders, torso, legs and so on. I also work from the inside out, such as from the face to the hair, or from a bare arm to the fabric on top of it.
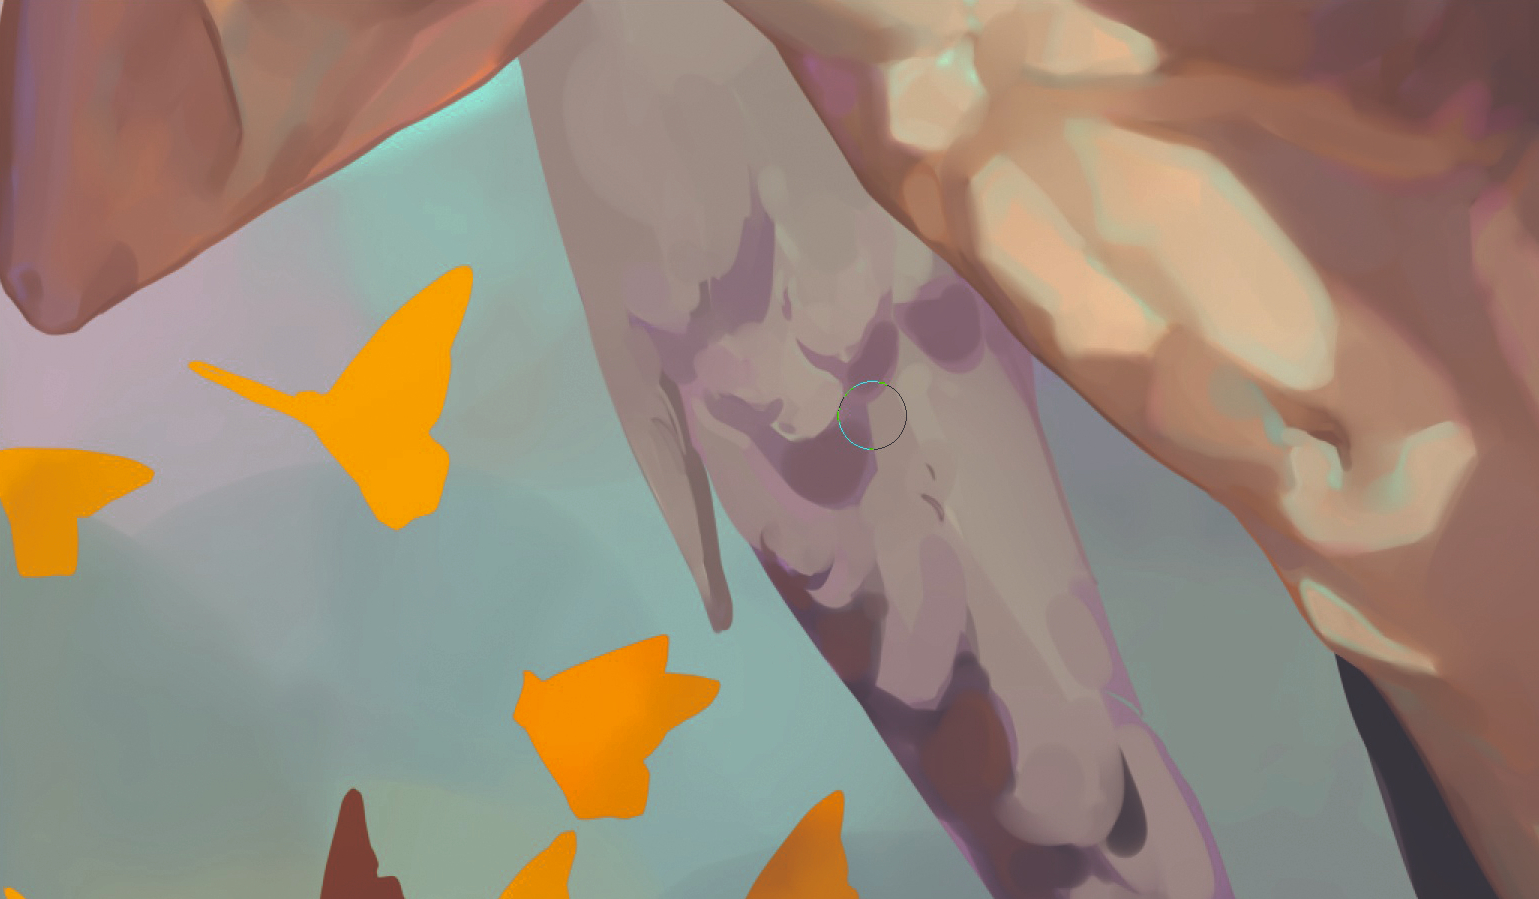
09. Render clothing and fabric

(Image: © Angela Wang)
I start loosely with the rendering before tightening it up later. This especially applies to fabric because I find it difficult to form the shapes, ruffles and folds at first, so I spend a lot of time establishing what comes next. Because I'm working from loose to detailed, my brush usage follows in a similar manner: from Brush (hard, simple edges and messy) to Watercolor (soft and blendable).
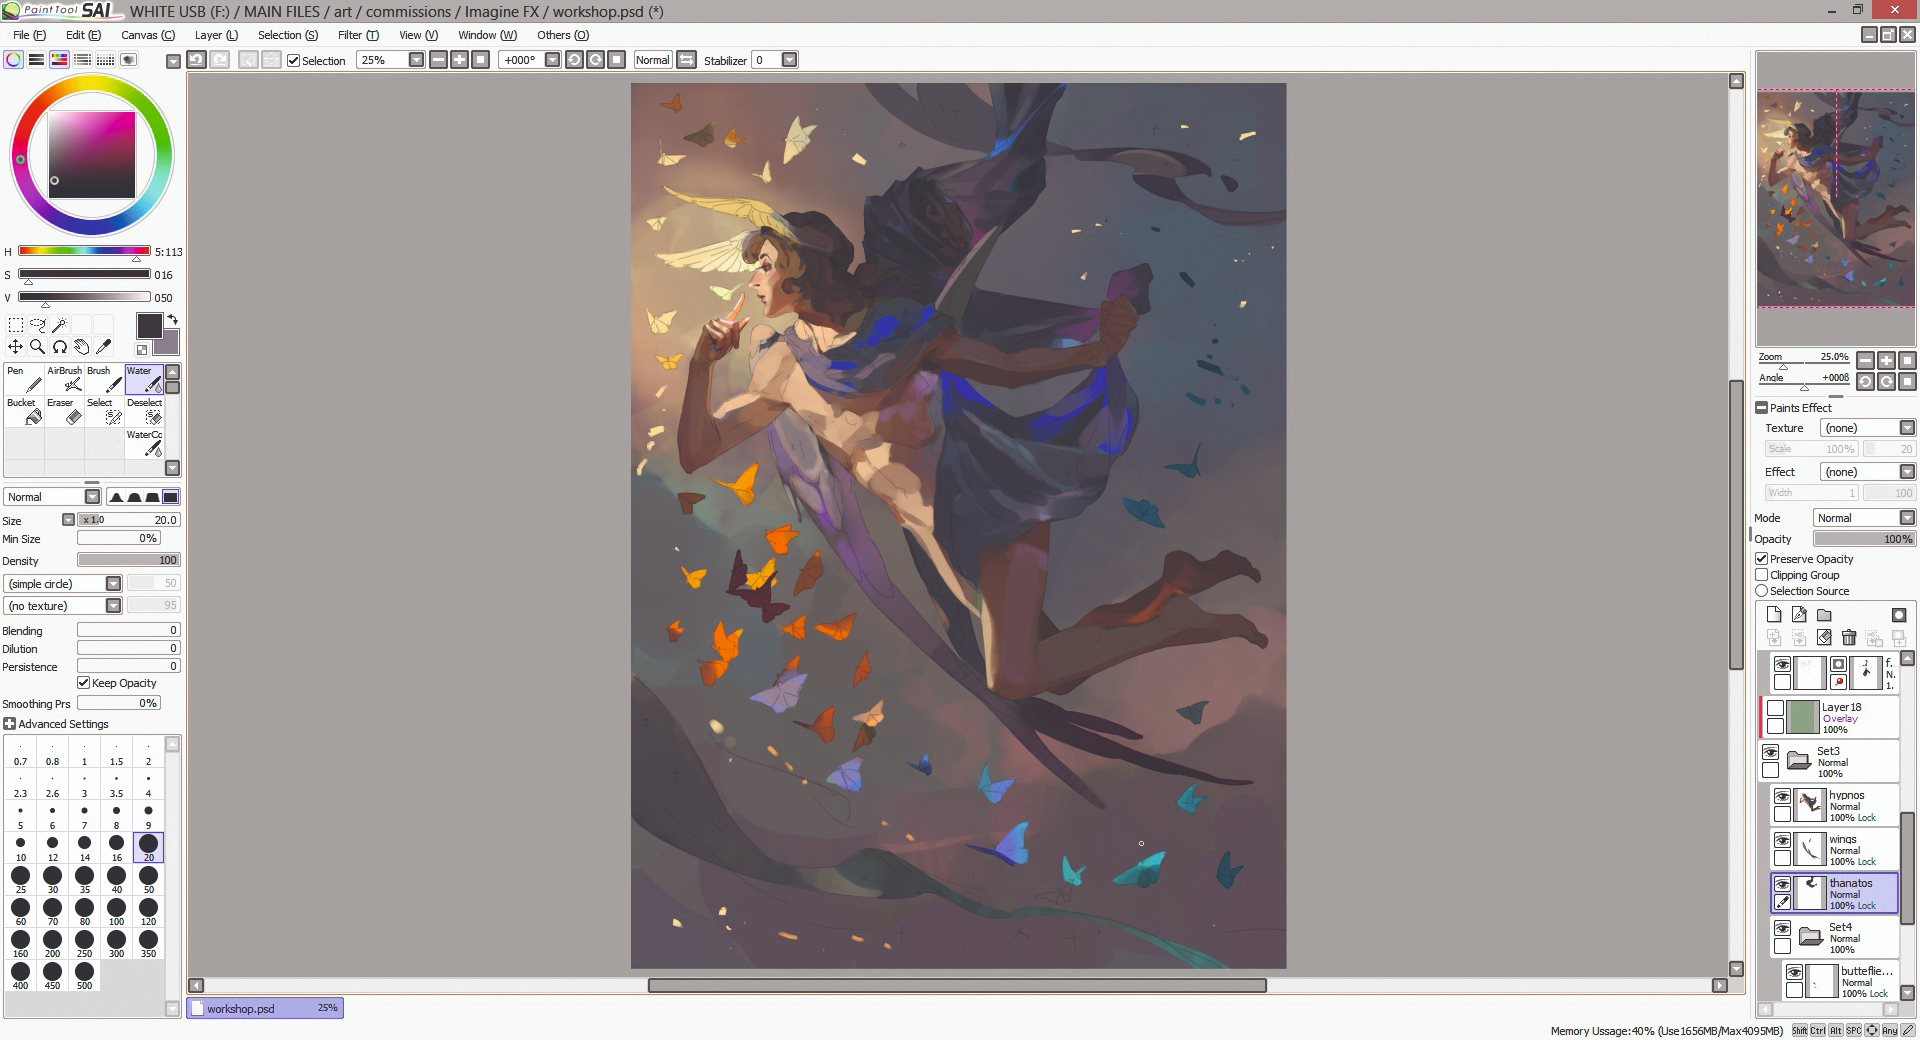
10. Make use of layer effects
(Image: © Angela Wang)
I like to use Overlay layers for glowing objects, such as the candle here. When doing so, an even and gradual spread is necessary, so I use the Airbrush tool for a super-soft placement of colour. It's a small detail, but minor effects can sometimes add so much!
11. Try extreme zoom-outs

(Image: © Angela Wang)
Remember in art class when your teacher told you to step back from your artwork to see how it looks from a distance? It's the same concept here. I zoom out so the image is tiny and I can gauge the overall feel. I don't care much for the original greener background colour, so I test out new colours with an Overlay layer over the background layer. It helps to see the results from afar.
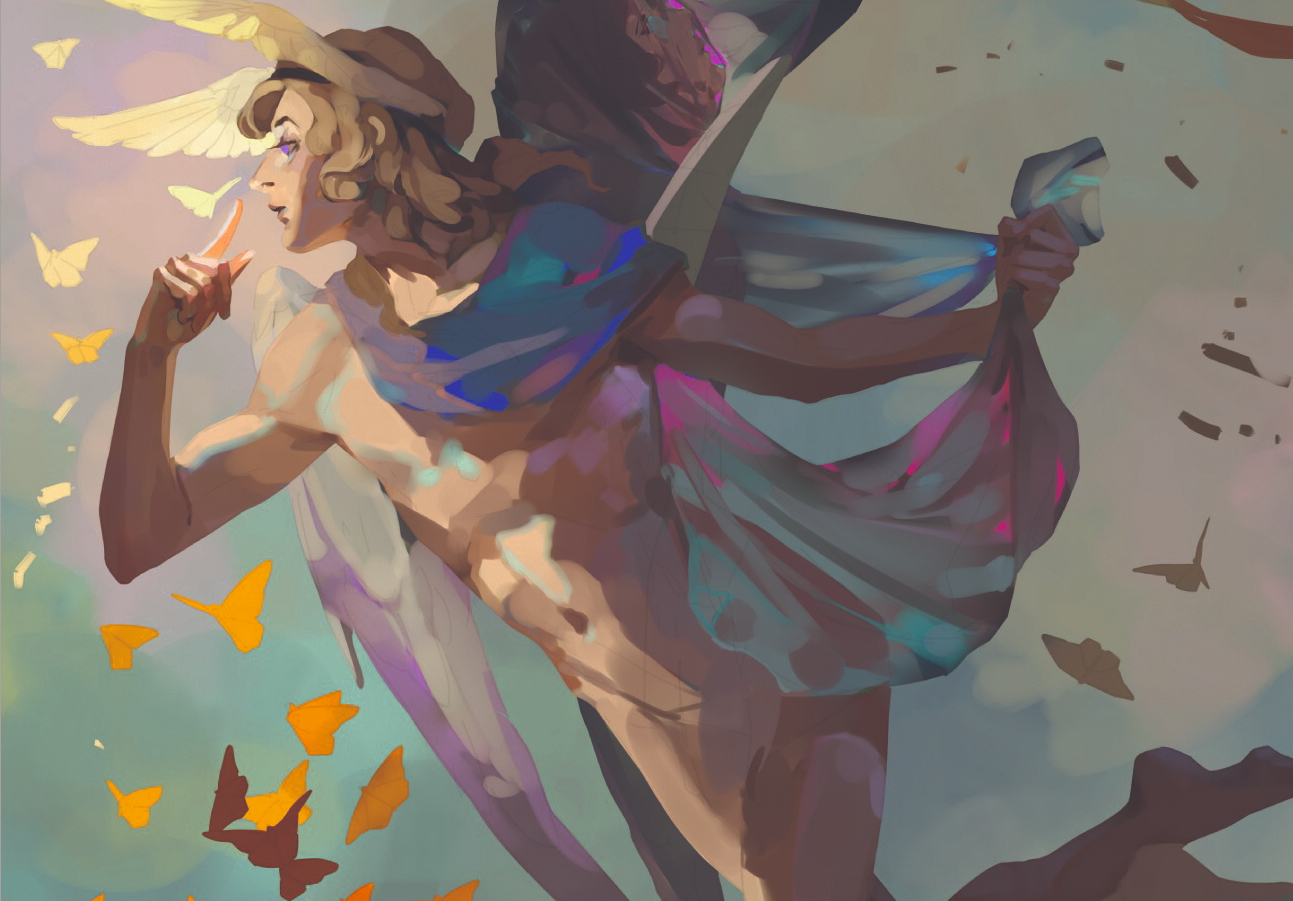
12. Paint the wings
(Image: © Angela Wang)
I find that light and shadow help to shape objects that are flat, such as feathers. Using the sharper Brush tool for detailed edges and the Watercolor brush for blending and softening shadows or edges, I shape the wings with shadows first, followed by light and then details. I enjoy creating subtle colour variations, so I make sure to include those at the edges where different colours or values meet.
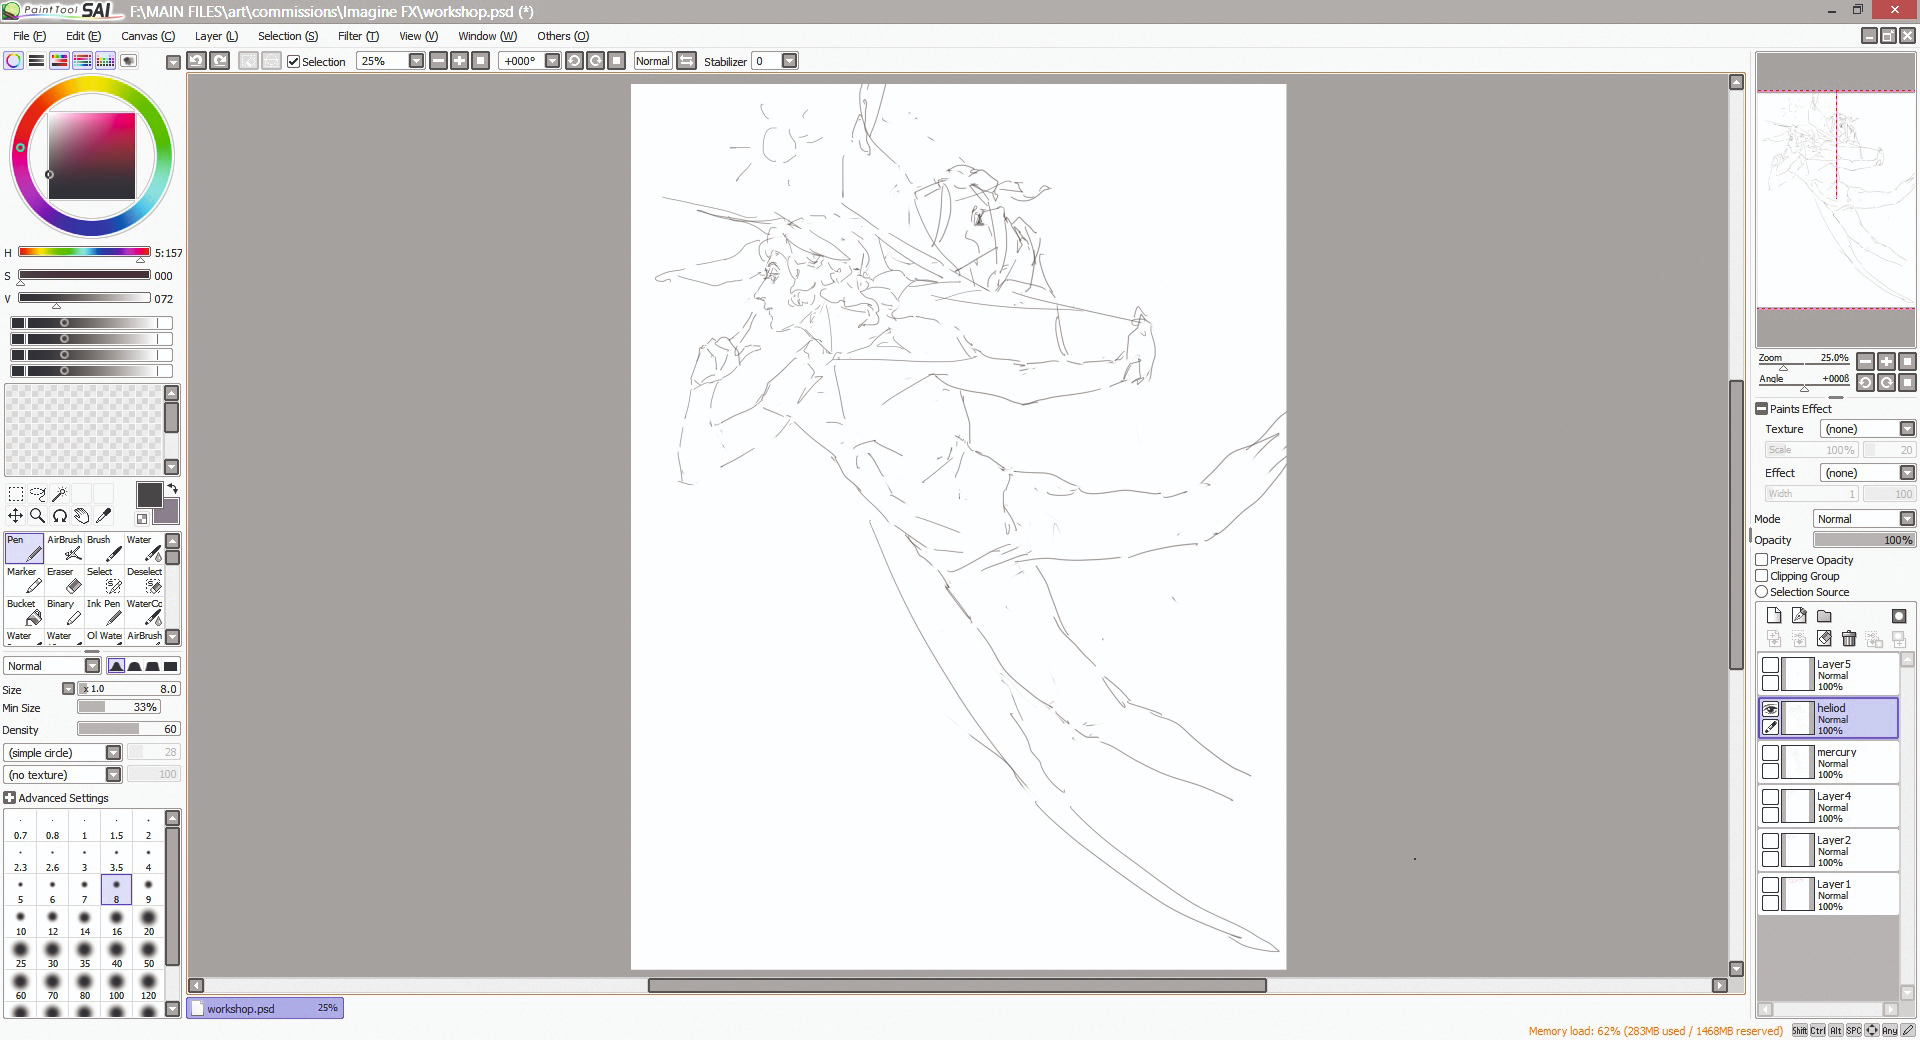
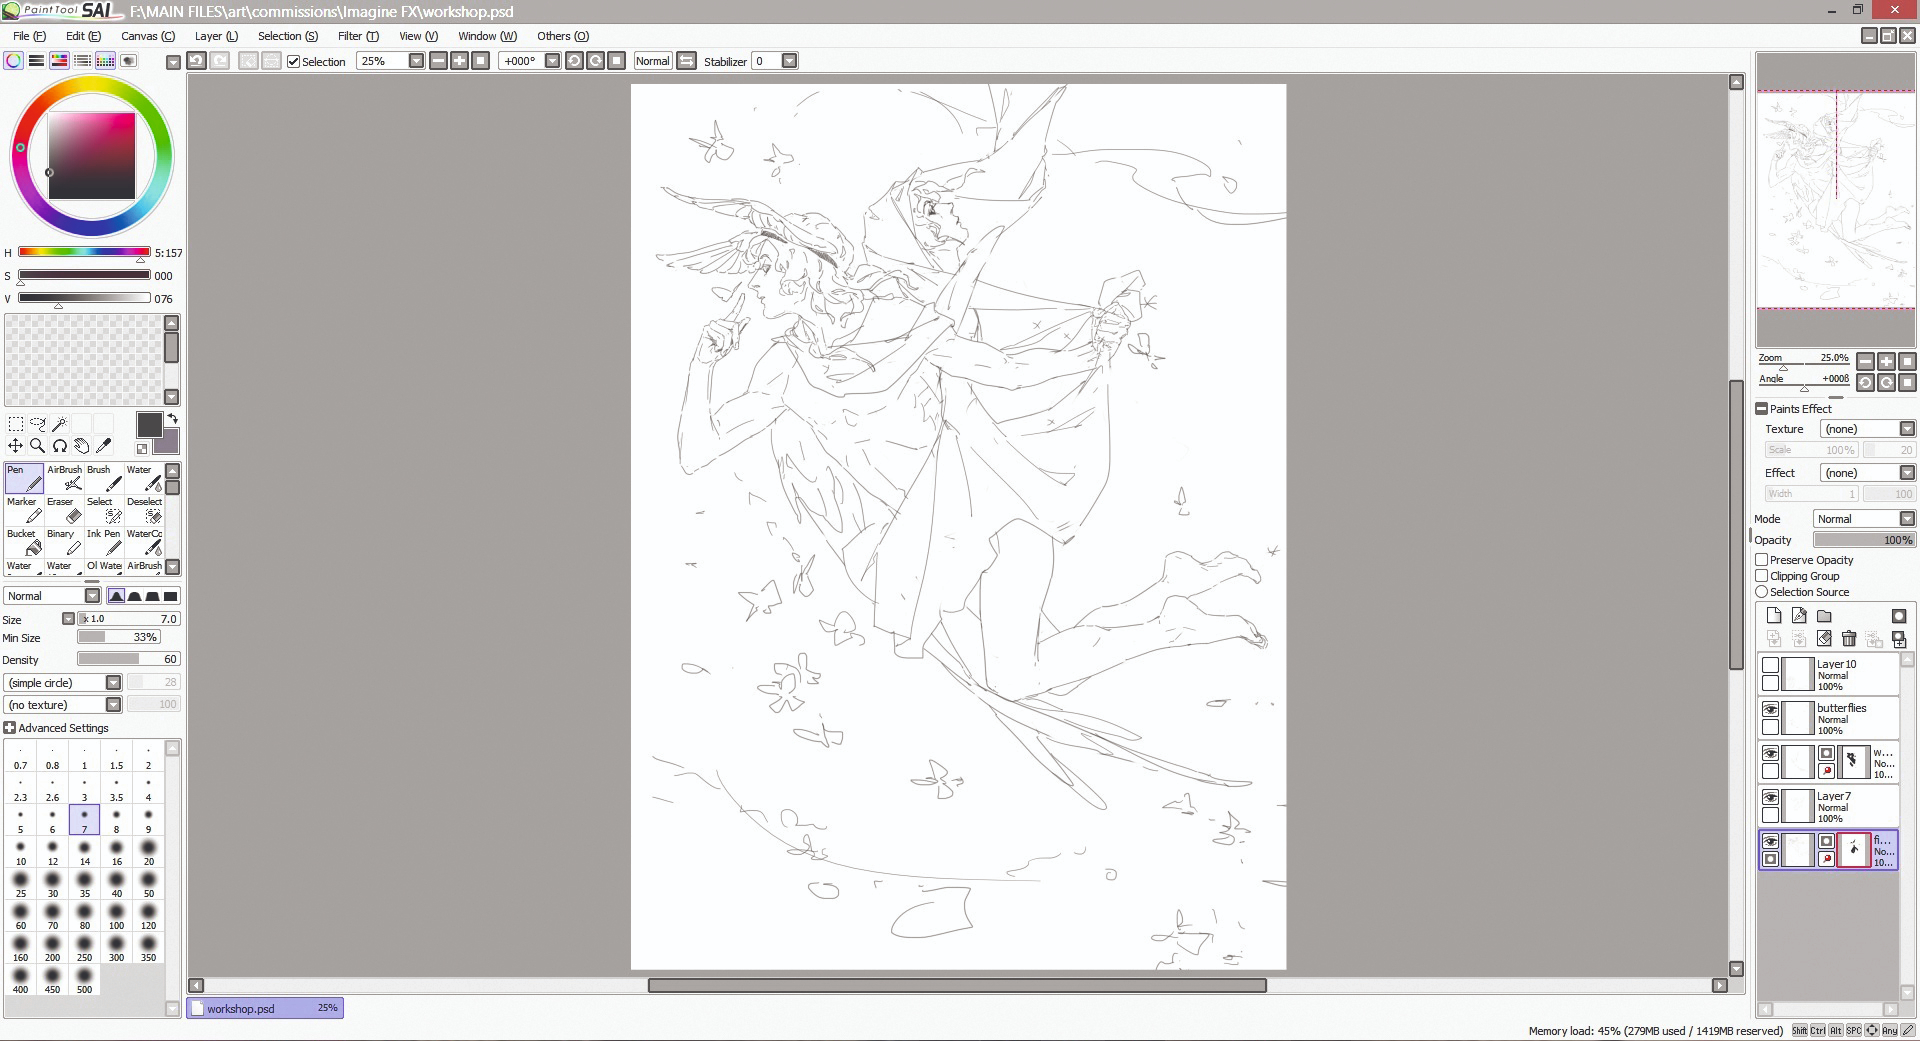
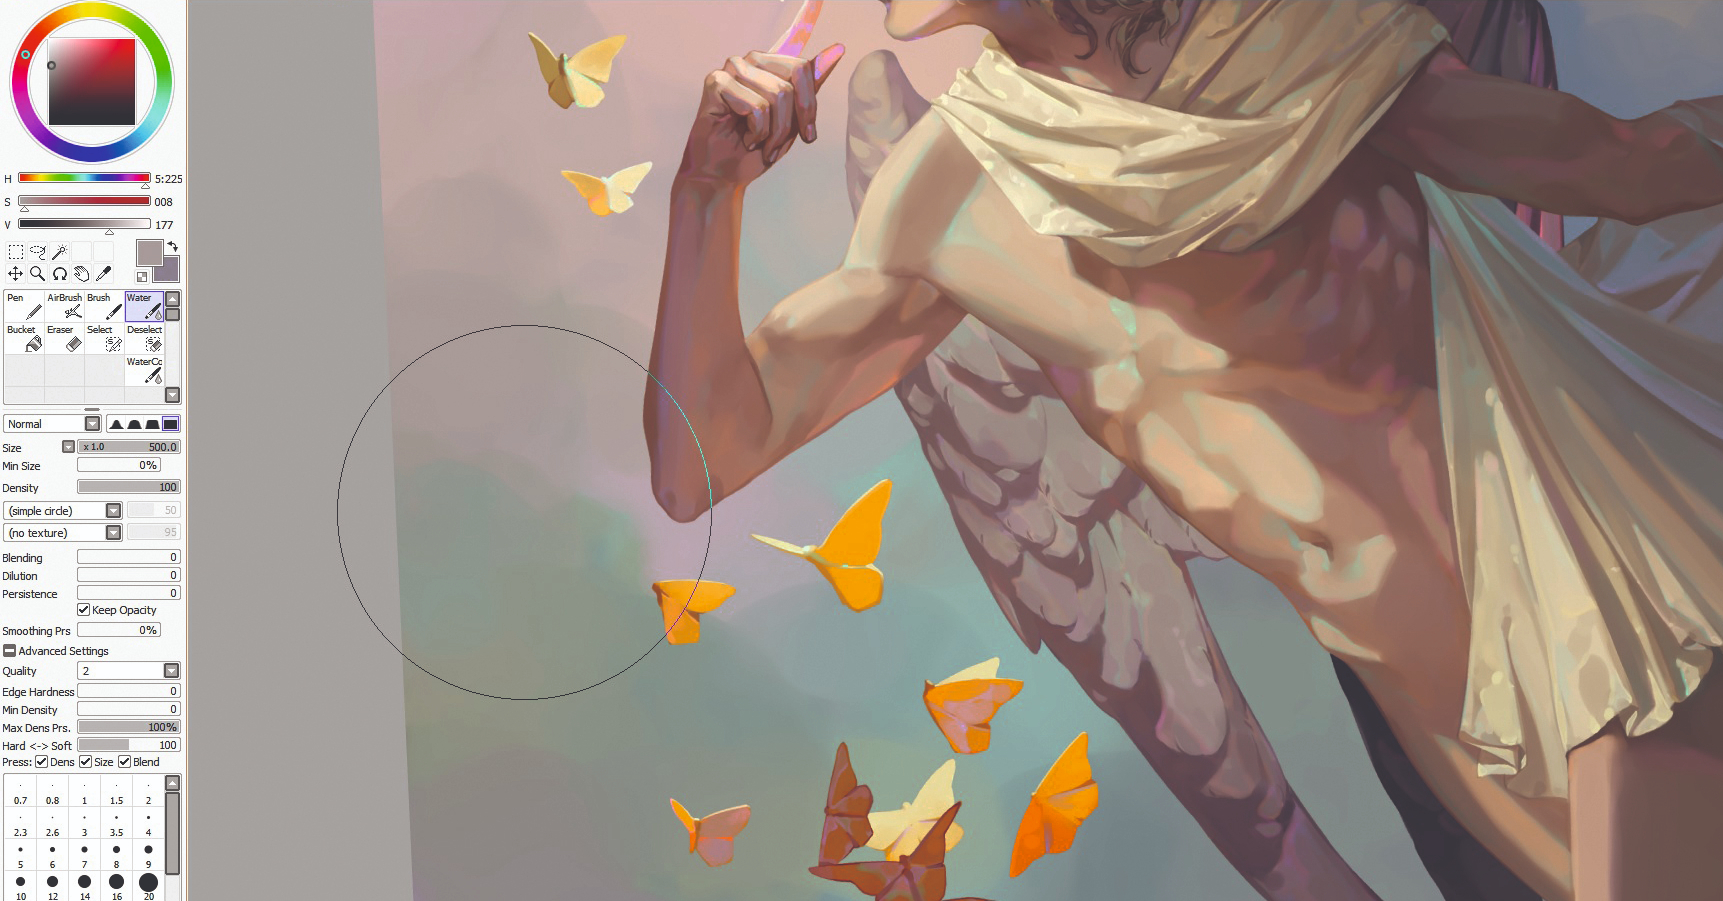
13. Finish details
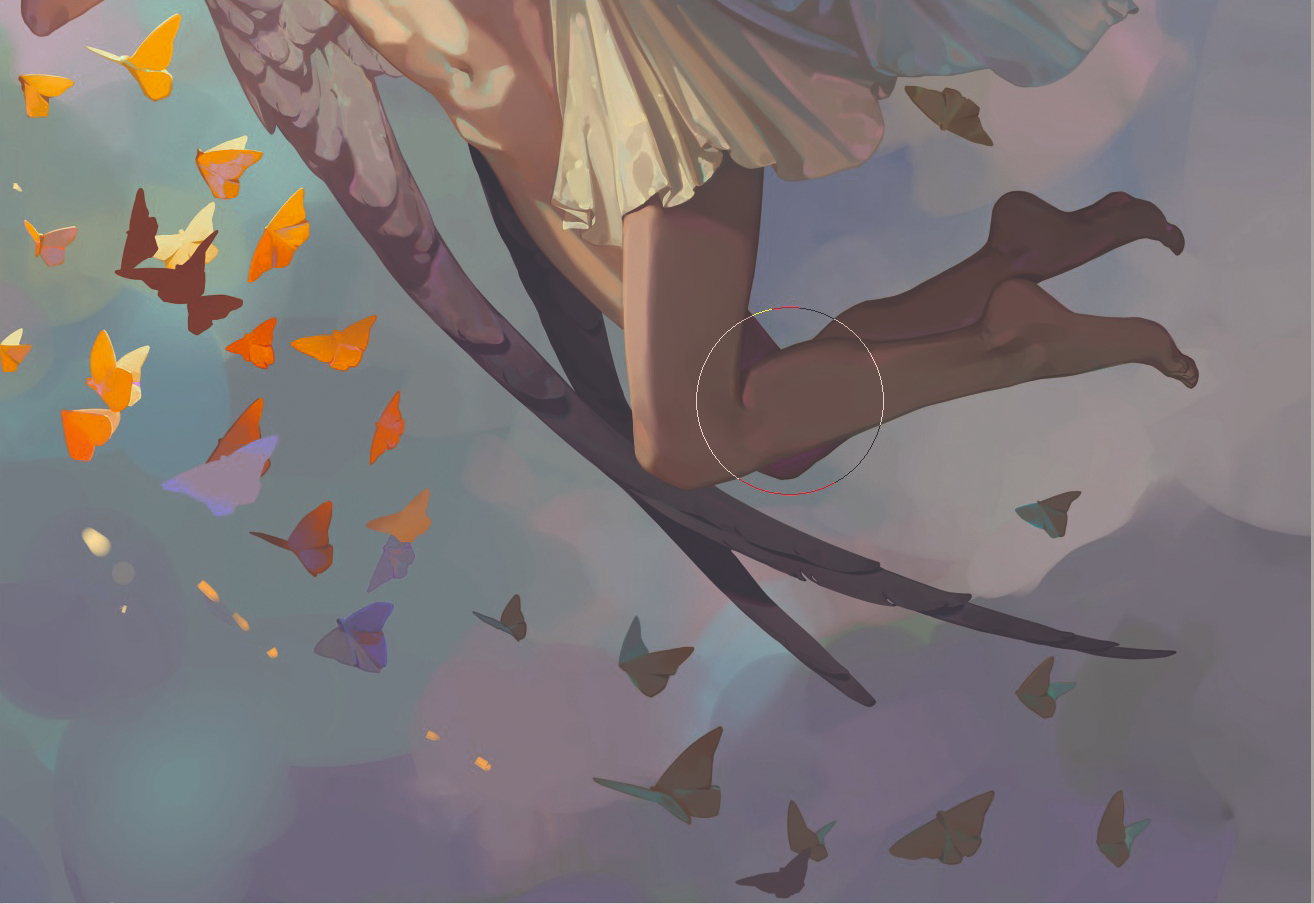
(Image: © Angela Wang)
As I paint the butterflies, I make sure that they either stand out against or fade out from the background. The general lighting should affect them in the same way, too, so the further they are from the light source, the darker and less colourful they become.
14. Refine the background
(Image: © Angela Wang)
Now I move on to the background. Because the two gods are flying, or at least floating in the air, I decide that an environment of clouds and stars is appropriate. I set the Watercolor tool at a large size and make soft marks, gradually building up the clouds to convey a sleepy, relaxing atmosphere.
This article originally appeared in ImagineFX , the world's best-selling magazine for digital artists. Subscribe here .
Related articles:
- The best stylus for Android devices
- How to be a character designer
- How to paint over a 3D environment

Also known online as awanqi, Angela Wang is a freelance illustrator who has a penchant for history and fantasy and has worked for clients in publishing and comics.
Related articles
Affinity Designer Vs Paint Tool Sai
Source: https://www.creativebloq.com/how-to/paint-tool-sai
Posted by: coxthared.blogspot.com
0 Response to "Affinity Designer Vs Paint Tool Sai"
Post a Comment